
Making Valentine’s giveaways is one of my daughter’s favorite elementary school activities. Unlike me, she is very crafty. But like me, she loves a good pun. In years past, I have helped her get the goods to make “You’re The Balm” cards (with lip balm) and “You’re a Friend I Can’t LEGO Of” cards (attached to bags of LEGOs).
This year, she wanted to share mochis, which I know as a sweet treat, but are also squishy toy things (and are quite adorable!)
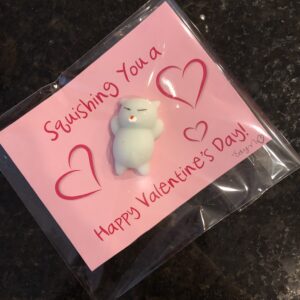
“Squishing You A Happy Valentine’s Day” was decided on as the “pun”ny theme for this year’s giveaway..
Idea created, check! Time to execute and make the craft come alive.
This year, I wanted her to experience the creative process hands-on, with me doing some very light guiding, but very little managing.
First of all, she had to articulate her idea. It’s one thing to have the message and concept in your brain, another to actually make it happen. I suggested she start by folding an 8.5×11 inch piece of paper into four since that would be the ideal print size (getting 4 to a page) then she sketch it out.
Size and concept below.
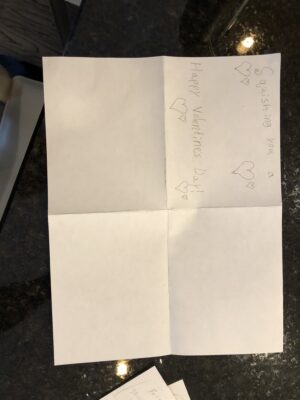
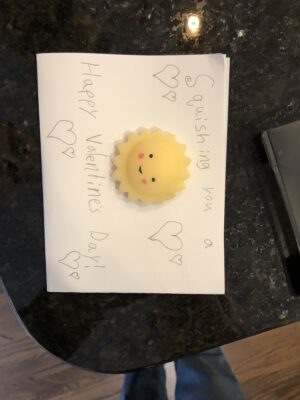
She sketched out her vision and put the squishy thing on it, then I emailed “Uncle Wil” (who is Wil Thomas, WMT’s design lead) on her behalf for help.
And he made this adorable card below.
My daughter looked at it and her eyes bugged out.
She said, “But I didn’t want the sun on the card.”
 I smiled (knowing there would be a good marketing lesson in this) and said with love, “Welcome to the creative process.”
It wasn’t clear that the squishy thing was a placeholder and not an actual design want.
I owned 100% that I wasn’t clear enough when I emailed him, but I was happy this happened, as I wanted her to experience moments like this to understand, appreciate and respect how design communications are rarely a one-take wonder.
Next, I suggested instead of email, she pick up the phone.
So she called Uncle Wil, thanked him for the design and explained that that area where the sun was was just a placeholder where lots of different squishies would go.
They talked for a bit, hung up, then in no time at all, she got a proof and the actual print file (that we needed to print on light pink paper)
PROOF to the left, ACTUAL PRINT CONCEPT to the right


She signed off on the design 🙂
Off to the UPS Store for me. I got them printed, we measured, cut and began assembly. It was a few days of projects.
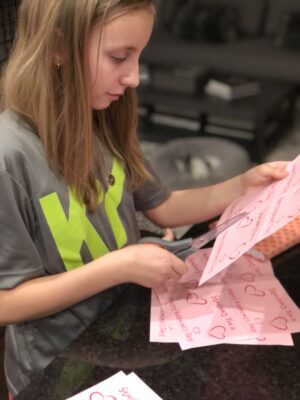
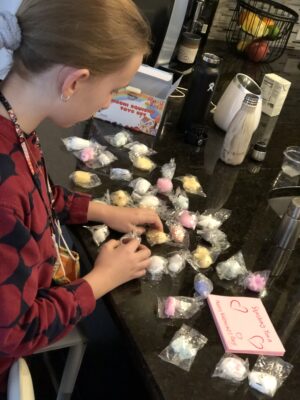
And viola! Well not really, the squishies didn’t stick at first and we had to wash the power off the bottoms of all of them and the initial assembly process was chaotic! If I never see sticky tack and cellophane wrappers again it will be too soon! Below are the lessons we can all learn or remember to continue to love the creative process!
-
Know your creative specs
-
Give clear creative direction
-
Never assume a designer is going to read your mind (ahem, get over yourself)
-
When email doesn’t cut it, pick up the phone to talk out ideas
-
Give yourself plenty of time. Designers loathe last-minute requests.
-
Be open to the creative process and you will love it!
I love the creative process, it’s a dance…a beautiful flowing dance if you approach it with knowledge and ease!